Pocket Tissue Cover Tutorial
Posted: Fri Sep 12, 2008 11:27 am
Fabric needed
3 - 5 1/2" x 3 1/2" rectangles
2 - 3 1/2" x 3 1/2" squares
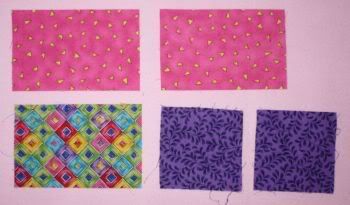
Fold the two squares and two of the rectangles in half as shown. These will become the top of the cover.
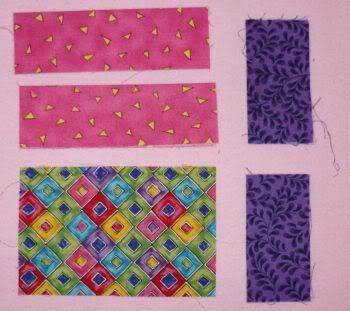
With the 3rd rectangle right side up, lay one of the folded squares on the end, with raw edges matching.

Next, lay one of the rectangles along the edge, raw edges together.

Lay the remainng folded square on the other end of the rectangle.

Finally, lay the remaing folded rectangle on the 4th edge of the rectangle, tucking the end under the original square.
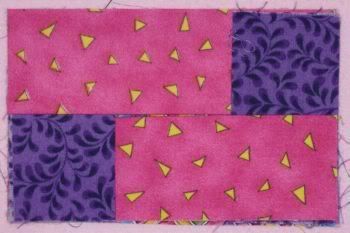
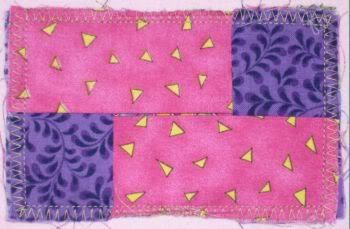
Pin in place, then sew a 1/4" around the square.
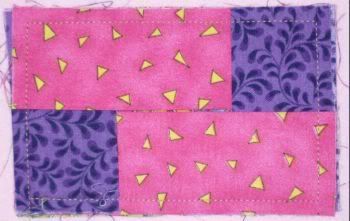
To keep the raw edges from ravelling, stitch a zig zag around the edge. This could also be done on the serger.
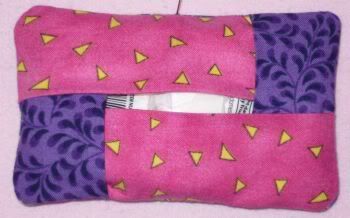
Turn the cover right sides out and insert the tissue package.
This project MIGHT have taken me 15 minutes to complete, but that included looking for fabric and taking pictues after each step. Once the fabric is selected these should whip up in no time at all.
3 - 5 1/2" x 3 1/2" rectangles
2 - 3 1/2" x 3 1/2" squares
Fold the two squares and two of the rectangles in half as shown. These will become the top of the cover.
With the 3rd rectangle right side up, lay one of the folded squares on the end, with raw edges matching.
Next, lay one of the rectangles along the edge, raw edges together.
Lay the remainng folded square on the other end of the rectangle.
Finally, lay the remaing folded rectangle on the 4th edge of the rectangle, tucking the end under the original square.
Pin in place, then sew a 1/4" around the square.
To keep the raw edges from ravelling, stitch a zig zag around the edge. This could also be done on the serger.
Turn the cover right sides out and insert the tissue package.
This project MIGHT have taken me 15 minutes to complete, but that included looking for fabric and taking pictues after each step. Once the fabric is selected these should whip up in no time at all.