Page 2 of 3
Re: A New Tutorial for Linking to Photos in the Forum
Posted: Tue Dec 04, 2018 8:07 am
by grammiequilts
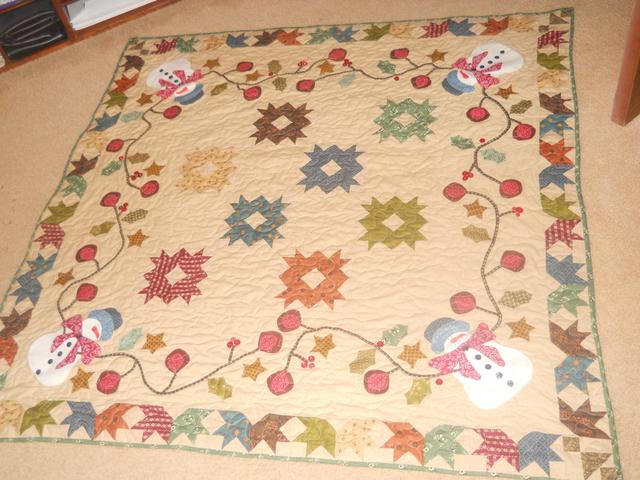
Ok lets see if I was able to do this this is my snowman quilt I will try and get a picture of the chubby binding,,,,OMG this took me a long time to master,,,It is a Kim Deihl pattern from her book Simple seasons.
Re: A New Tutorial for Linking to Photos in the Forum
Posted: Sat Dec 29, 2018 10:27 am
by grammiequilts
Re: A New Tutorial for Linking to Photos in the Forum
Posted: Sat Dec 29, 2018 7:02 pm
by seckvahl
Re: A New Tutorial for Linking to Photos in the Forum
Posted: Sat Dec 29, 2018 7:11 pm
by seckvahl
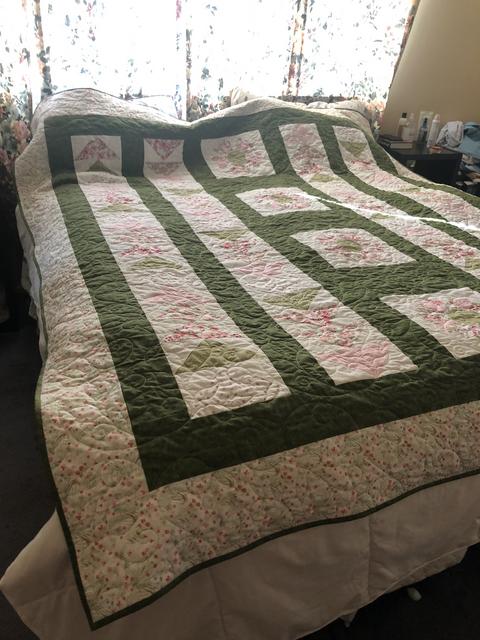
I made this for my daughter for Christmas. I was inspired to include the Dresden Plate after I'd completed the Fun on the Farm sunflower block.
Re: A New Tutorial for Linking to Photos in the Forum
Posted: Sat Dec 29, 2018 7:13 pm
by seckvahl
Re: A New Tutorial for Linking to Photos in the Forum
Posted: Sat Dec 29, 2018 7:15 pm
by seckvahl
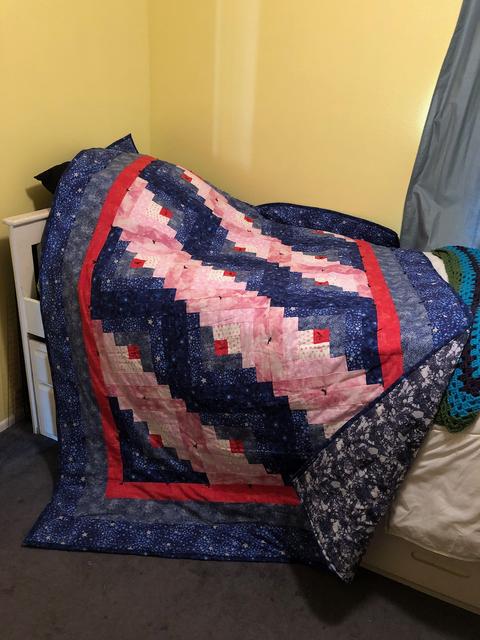
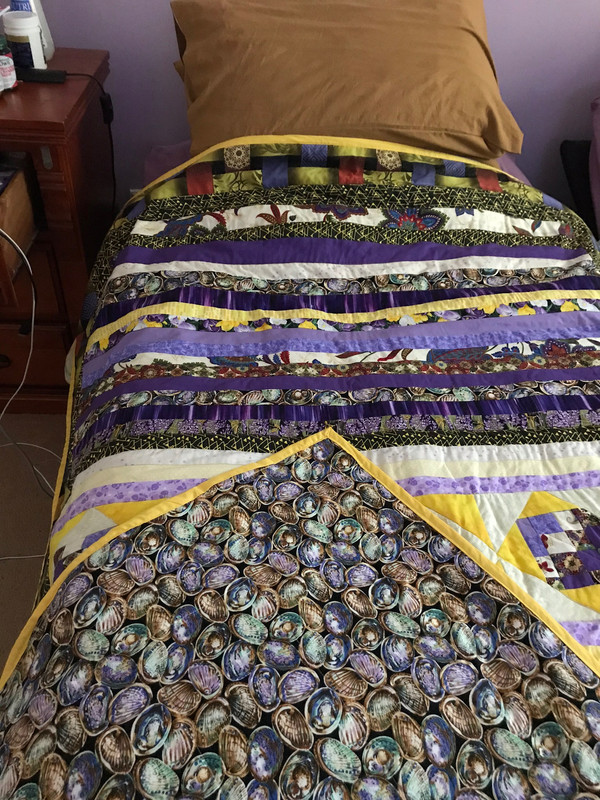
I made this for my cousin's oldest when she found out she was getting a new sister and was going to have to move into a 'big girl bed'. I always use Eleanor's method to make my log cabin quilts.
Re: A New Tutorial for Linking to Photos in the Forum
Posted: Thu Jun 06, 2019 12:45 am
by AussieSue51
Re: A New Tutorial for Linking to Photos in the Forum
Posted: Sat Oct 19, 2019 4:14 am
by QuiltGram8
You need to read this post to understand how to upload and capture your photo to your clipboard.
Velda
tommilliken wrote: ↑Tue Jul 25, 2017 7:02 am
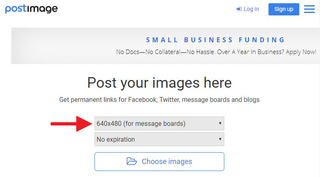
We have a new method for adding images to your messages. We are working on a method where the images will be stored on our servers, but in the meantime this should work fine. We are currently recommending postimages.org for photo hosting. Postimage works much like photobucket did. You are not required to have an account, but if you create one, you can organize and manage your photos. Go to postimages.org - [url]https://postimages.org'>https://postimages.org[/url]. under "Post your images here", select "640x480 (for message boards)" or "320x240 (for websites and email)" and be sure "No expiration" is selected. 640x480 will have a scroll bar but has better detail. The images below are 320x240. Click on "Choose images" and select the image on your device.
Once the image upload is completed, you will see a new page with a list of links. Select the second link labeled "Direct link". The button on the right side will copy the link to your clipboard. The URL will look something like:
https://i.postimage.cc/somedirectory/image.jpg
If you already have images uploaded there, click on the image and select the share button and you will see the link for "Direct Link:"
Return to the Quilt in a Day website when you have copied the URL. Click on the "Insert Image Code" button. A popup will open and you can paste the code in the box (ctrl-v, cmd-v or edit paste). Click OK and the image will be added to the end of your message. You can cut and paste the link around if needed. Just be sure to include the img tags.
The How to link above the message area has been updated with this information.
Reply to this topic for more clarification.
Re: A New Tutorial for Linking to Photos in the Forum
Posted: Sat Oct 19, 2019 3:50 pm
by auntjana
Thanks Velda
One note - I keep a tab open in the PostImage site and a tab for QIAD. That way it is easy to go from one to the other.
Also - if you click on the paper looking icon, at the end of the direct link line, it makes the copied link to insert.
Fo a second picture in the same topic, you make another line with the QIAD icon for the image code, you can the go back to the Postimage tab, copy another picture and put it in your already open topic. That makes it for multiple pictures.
Try, we love boo boos and you will learn how!
Jana
Re: A New Tutorial for Linking to Photos in the Forum
Posted: Sun Oct 20, 2019 1:38 pm
by QuiltGram8
Yes, keeping two tabs open would make it easier to flip from one site to the other, but on my phone, I don't have that option. I just have to do it the long way.
Thanks, it's good advice that you share.
Vel
